Mapping Drives with Fortinet on Macs
What if you have everything you need except your data or files?
Or, you want to work on your Mac and access your personal network storage, or shared folders?
Network drives include your own personal H: drive, or shared project or administrative folders, which on Windows computers reside on P: and W:, respectively. You can log in to Western ROAMs using Fortinet, connect to your network drives, and then work with them locally. You don't need to use Microsoft Remote Desktop to get connected.
Setting up Your Local Computer
In order to access computing resources at Western from off-campus, you are required to log in to Western ROAMs using Fortinet at remote.uwo.ca. These instructions assume that you have already applied for and been granted Western ROAMS access, and that you have installed and configured Fortinet.
Connect to Fortinet
Note: You can skip this step if you are working on campus.
- Launch Fortinet from your Applications menu
- In the Forticlient window, click the Connect button.
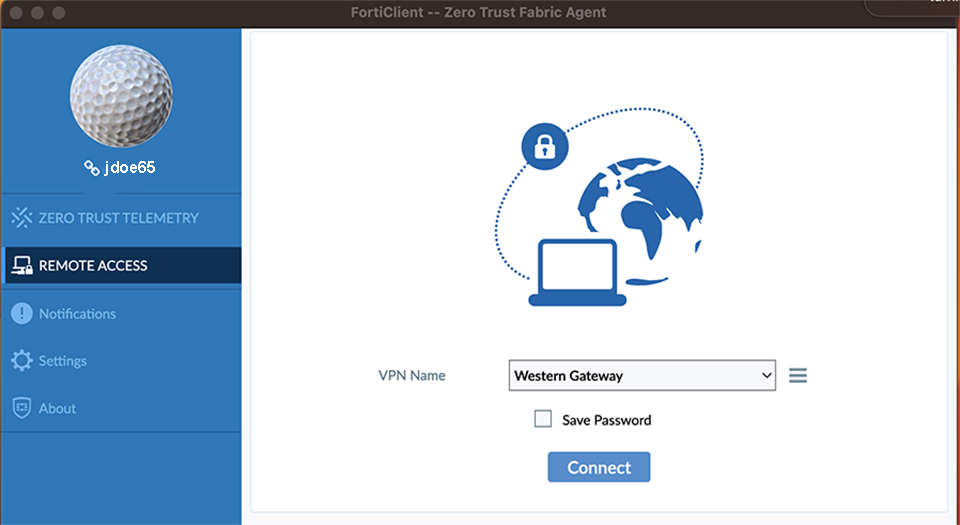
- You will be prompted to log in.
Connecting Network Drives
Once ROAMs is running, you can connect to Western network drives directly from your local computer.
The paths for the network drives are as follows:
- Faculty/Staff/Grad Personal Network Storage (H:) drive is smb://ssc-venus.uwo.pri/sschome$/username where username is your Western username.
- Course Library L: drive is smb://ssclibrary.ssc.uwo.ca/userlib
- Project folders normally on P: are smb://ssc-venus.uwo.pri/sscprojects$
- Administrative folders normally on W: are smb://ssc-venus.uwo.pri/sscadmin$
- Check with your IT Support person regarding mapped drives on other servers.
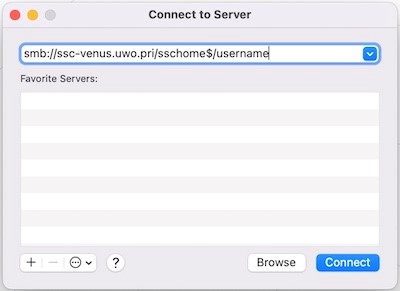
Connect a Drive
- Choose Finder > Go > Connect to Server. Enter the path from the list above in the following format: smb://ssc-venus.uwo.pri/sschome$/username
- A login screen will appear and the login name for your Mac will be prefilled. Change the Name to username@uwo.ca (where username is your Western username) and enter your Western account password.
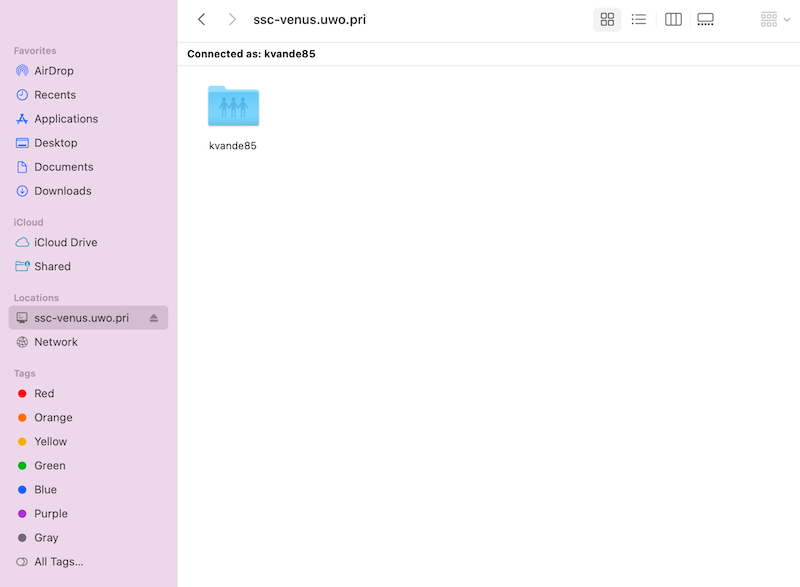
- A window will open showing the contents of the drive that you have just connected.
- You can connect a second drive by returning to the Connect to Server window and clicking the plus + in the bottom left corner.
- A new icon representing your connected network drive should appear in the Finder window for your computer and the server will be listed under Locations.
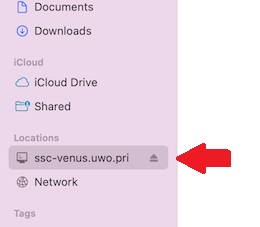
Disconnect Network Drives
Open a Finder window. In the left margin under Locations, click on the eject button beside the ssc-venus server name. That will eject all drives mapped to ssc-venus. If you have drives mapped to another server, you will need to eject those drives too.
Disconnect from Fortinet
You can skip this step if you are working on campus and did not connect to Fortinet.
In the Fortinet window, click the Disconnect button.
I 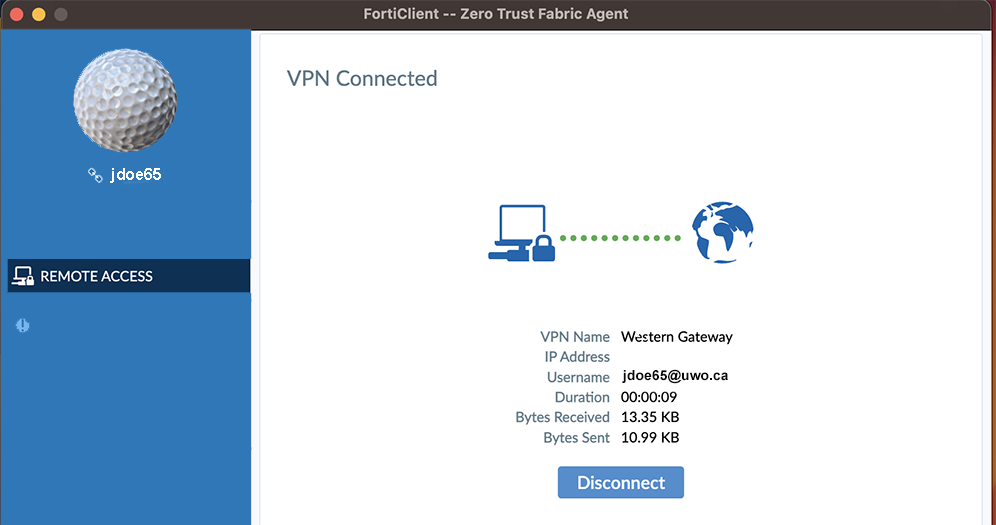
Note:You may need to adjust some of your firewall settings in order to map drives to Western servers while using Western ROAMs
If you need assistance with the items discussed on this web page, please contact SSTS.