Accessing Western ROAMs
Important: Western ROAMs access with Pulse Secure is required for Remote Access to your office computer or Remote Access to our SSCRemote Remote Access Server. As of September 2021, Pulse Secure also requires MFA and you will be prompted for a Secondary Password. See below for instructions.
1. Introduction
Western ROAMs (Remote Office Access Management System) is provided by WTS for secure remote access to resources on campus. This is a Virtual Private Network (VPN). Once you are authenticated onto the VPN, you can access Western resources.
A product called Pulse Secure is used to access the VPN. You will not be able to use the Remote Desktop Connection or map network drives from off-campus without it.
WTS has their own help provided from remote.uwo.ca. Be sure to read the PDF for setup instructions after installing Pulse Secure.
2. Getting Access to ROAMs
Access to Western ROAMs has been granted to many faculty and staff already. If you are not sure if you have access, please contact SSTS , or you can try to Login to remote.uwo.ca. If you do not have access, please submit a ROAMS access Request ticket.
3. Setup Pulse Secure on Windows
Go to Western ROAMs at remote.uwo.ca and follow the link to Pulse Secure Downloads.
- The instructions for setting up Pulse Secure are on the WTS website.
- There are further Pulse Secure setup instructions for Windows in the Pulse Secure Manual Setup PDF.
- NEW! Multi-factor Authentication (MFA) is required for access to ROAMS via Pulse Secure. See Using ROAMS with MFA for instructions.
Using Pulse Secure on Windows
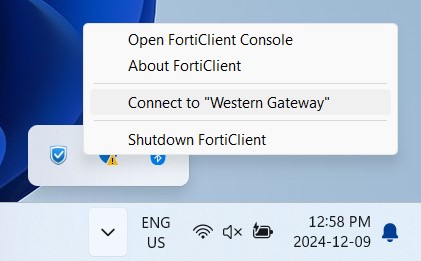
Pulse Secure will load automatically when your computer starts up. Find the Pulse secure icon in your System Tray and click Connect next to WesternU.
4. Setup Pulse Secure on Mac
Go to Western ROAMs at remote.uwo.ca and follow the link to Pulse Secure Downloads.
- The instructions for setting up Pulse Secure are on the WTS website.
- There are further Pulse Secure setup instructions in the Pulse Secure Manual Setup PDF.
Mac Configure Pulse Secure
- To start Pulse Secure select the Pulse Secure icon from the Applications folder.
- In the Connections window, click the plus ( +) sign.
- On the next screen, complete the following fields as shown:
- Type: Policy Secure (UAC) or Connect Secure (VPN)
- Name: WesternU
- Server URL: remote-gate.uwo.ca
- Click Add.
Using Pulse Secure on a Mac
- Launch Pulse Secure from your Applications Menu.
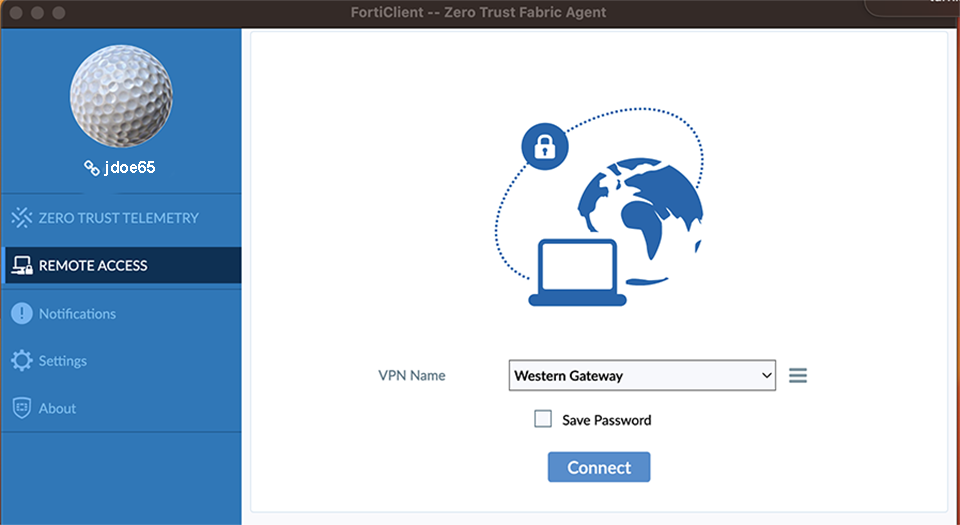
- In the Connections windows, click the Connect button beside WesternU.
- You will be prompted to select a Realm. Choose UWO. Do not select WesternU-MFA.
- Enter your Western Username and password and click Connect. ( Tip: Just use your username, NOT uwo\xxx or xxx@uwo.ca.)
- When prompted for a secondary password follow the steps below in 5. MFA Secondary Password section
5. MFA Secondary Password
When connecting to Pulse Secure, you will receive a Secondary Password prompt that looks like the following on Windows:
Or below on a Mac:
The Secondary User Name field will be prefilled with the Western username that you used to login to Pulse Secure. The Secondary Password is the prompt for your MFA method. Type one of the following keywords:
- push - This will send a push notification to your default MFA device via the Duo Mobile App. Check your device to approve the request.
- phone - Duo will call your default enrolled phone to authenticate.
- sms - This will send you 10 passcodes via SMS to your default device. You may get a message that Credentials were invalid. You should still receive a text on your device and you can enter a passcode on the screen with the error to complete your secondary login.
- Enter a passcode from your DUO hardware token, a passcode sent to you by SMS or text, or a passcode generated by the Duo Mobile App on your mobile device.
If you wish to use a secondary device, you can type push2, push3, phone2, etc... Go to mymfa.uwo.ca to check your registered devices.